By Kolors Virtual · Updated 29 September 2026
How to try on a complete outfit from separate garments
A complete look needs an individual reference for each garment. Separating the items makes it clearer which top, bottom, jacket or shoes you want to use. Start with two or three pieces, then add accessories only after the main outfit works.
Opens three empty, labelled slots with Standard quality and suggested guidance. Add your person and garment photos. Nothing is generated automatically.
1. Prepare a full-body reference
Choose a well-lit person photo that includes the feet when shoes matter. A neutral standing pose gives you a clear view of the outfit. Check that every intended garment area is visible. This is a visual styling workflow: it cannot tell you whether trousers will be the right waist size or whether a jacket will feel comfortable.
2. Give each item its own slot
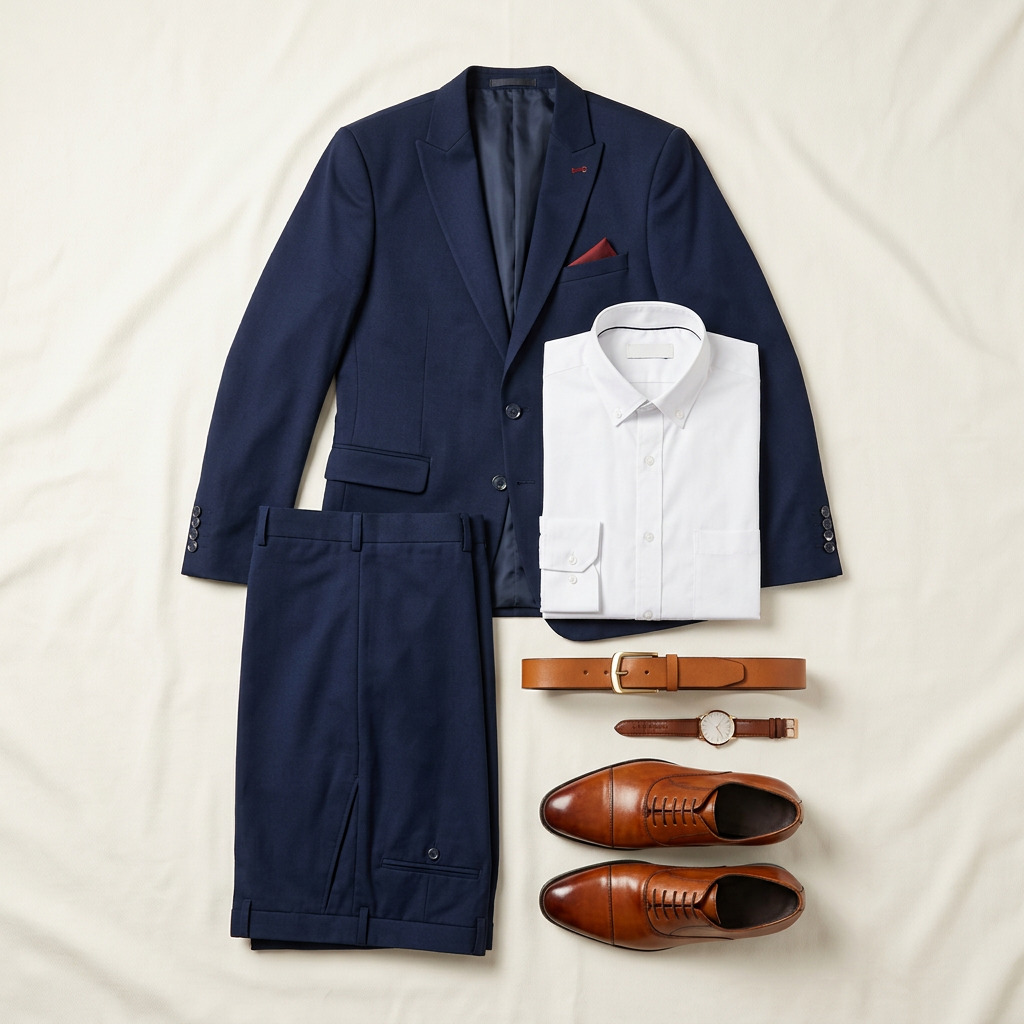
Use the complete-outfit setup to open Top, Bottom and Shoes slots, or the layered setup for Top and Outerwear. Upload one product image per slot and check its category. Add a descriptive label when items are similar. You can use up to 11 references, but adding more items creates more details for the model to reconcile; a smaller first combination is easier to evaluate.
3. Make layering explicit
Use Advanced guidance for relationships between items: “leave the jacket open so the shirt is visible” or “tuck the top into the trousers.” Describe what should stay the same as well. If two items cover the same area, decide which one should be visible rather than asking the model to resolve a conflicting combination.
4. Review the complete price
A Standard top-and-jacket setup costs 3 credits when both slots contain images. A three-garment Standard outfit costs 4 credits; the same three references on Premium cost 8. Empty slots do not add to the garment count. The displayed price updates as you add images or change quality. Separate edits and creative outputs have their own costs.
5. Compare versions systematically
Keep the person reference and quality setting consistent while changing one piece. Compare the old and new saved versions for missing shoes, merged layers, changed colors or invented details. A visually pleasing result can still misrepresent a garment. If you want to reuse real clothes repeatedly, save your references to the virtual wardrobe and select those pieces together for the next try-on.